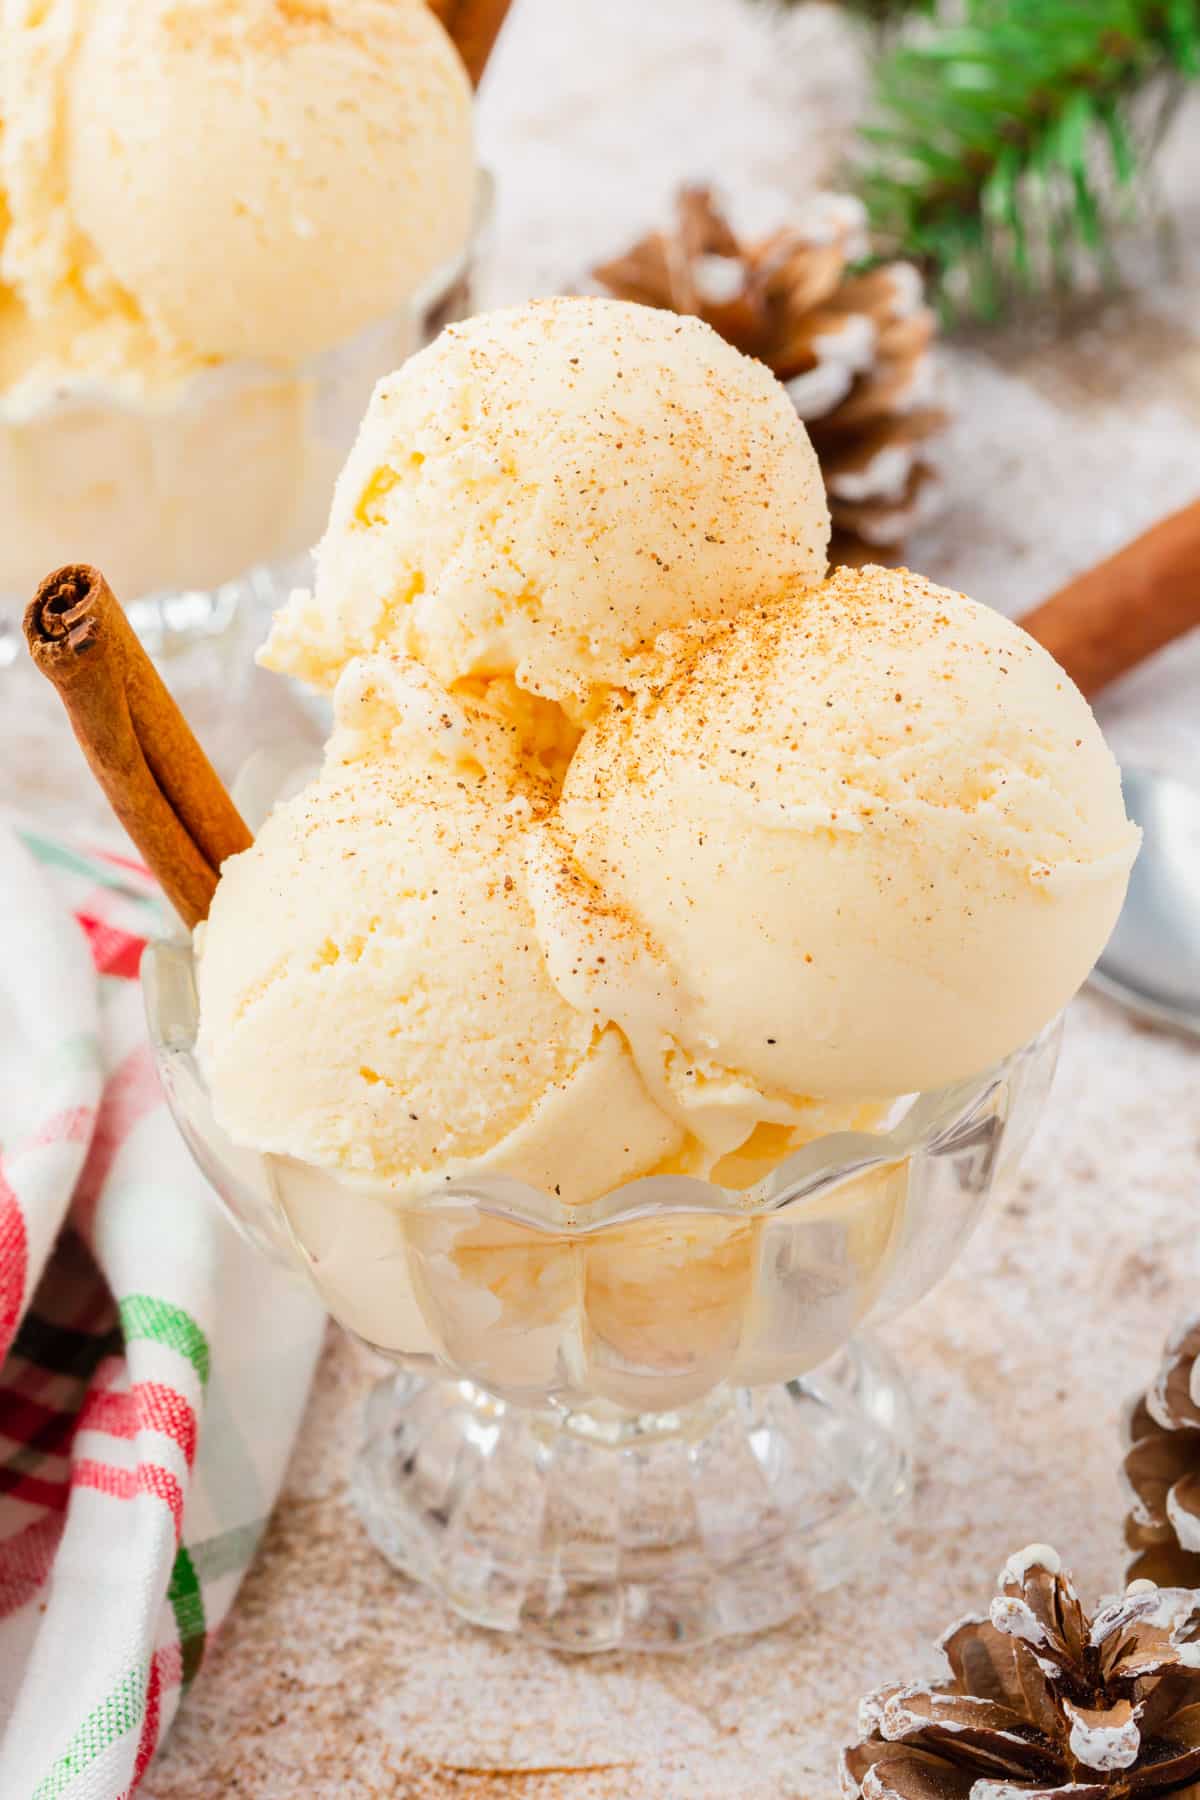
Lucky Charms Pudding Cups


These Lucky Charms Pudding Cups are the perfect mix of nostalgia and festivity! I love how easy they are to whip up with just a few simple ingredients, making them a fun last-minute treat for St. Patrick’s Day. The creamy pudding, fluffy whipped topping, and crunchy Lucky Charms come together for a dessert that’s as delicious as it is colorful!
You’ll love this recipe because:
Ingredients

Ingredient Notes
- Vanilla pudding – Make sure to purchase instant pudding mix, not cook-and-serve, to ensure it sets properly and quickly.
- Milk – Whole milk will give a richer texture, but you can use any type of milk, including almond milk or soy milk, if needed for a dairy-free dessert.
- Whipped Topping: Ensure it is fully thawed for smooth mixing. Cool Whip is a common brand, but any similar product will work. If you’re dairy-free, use CocoWhip instead.
- Green gel food coloring: Gel food coloring provides vibrant color without altering the consistency of the pudding. Start with a few drops and add more until the desired shade of green is reached. If you don’t have gel food coloring, you can use water-based liquid food coloring, but note that the pudding might thin out a bit more to get the green color you want.
- Lucky Charms Cereal: Adds a fun, colorful, and crunchy garnish to the tops of your pudding cups! You can use the traditional version or any seasonal variety for an extra festive touch.

To achieve the perfect green color for your Lucky Charms Pudding Cups, use vanilla pudding, as its white base easily takes on the green dye. Be sure not to use other flavors, like chocolate, as they will not give you the green hue you’re looking for. If you like the flavor of pistachio pudding, you can use that instead as it’s already green.
Step-by-step instructions
These Lucky Charms pudding cups are really easy to make with just a few simple ingredients. The steps below with matching photos are meant to help you see the recipe at various stages so that you can make these chocolate covered pretzels perfectly every time.
For the ingredient list with measurements, full instructions, printable recipe and additional notes, please scroll down to the recipe card.


Expert Tips
FAQs
Yes, you can prepare the pudding cups a few hours in advance. Just be sure to keep them refrigerated until you’re ready to serve. For best results, don’t top the pudding cups with the Lucky Charms until you’re ready to serve. They’ll get soft in the refrigerator.
Absolutely! Homemade whipped cream can be used in place of store-bought whipped topping. Just make sure to whip it to stiff peaks for the best texture.
Yes, you can use any cereal you like, but Lucky Charms adds a festive touch with its colorful marshmallows, making it perfect for St. Patrick’s Day. Fruity Pebbles or Froot Loops would also work for St. Patrick’s Day to look like a rainbow!
If you don’t have gel food coloring, you can use liquid food coloring, but start with a small amount and gradually add more until you reach the desired shade of green. Keep in mind that liquid food coloring may change the consistency of your pudding.
Yes, you can make these pudding cups dairy-free by using a plant-based milk like almond or soy milk and a dairy-free whipped topping, like CocoWhip. Just ensure all ingredients are compatible with your dietary needs.

Storage Instructions
For the best results, serve these Lucky Charms Pudding Cups on the day they are made. While the whipped cream topping can change texture as it sits, you can store the finished pudding cups in the refrigerator for up to 3 days.
If you plan to store the pudding cups for a while, wait to add the Lucky Charms topping until just before serving to keep them crunchy and fresh.
Related recipes
More holiday desserts to try


Lucky Charms Pudding Cups
Ingredients
- 3.4 oz package vanilla Jello instant pudding
- 2 cups cold milk
- 8 oz tub of frozen whipped topping, thawed at room temperature
- Green gel food coloring
- Lucky Charms cereal, for garnishing
Instructions
Instructions:
- In a large mixing bowl, whisk together the vanilla pudding mix and cold milk. Use a whisk or an electric hand mixer and blend for 2-3 minutes until well combined.
- Place the bowl in the refrigerator for about 5-10 minutes to let the pudding firm up.
- Once the pudding is set, remove it from the refrigerator and gently fold in half of the thawed whipped topping using a rubber spatula until fully combined.
- Gradually add green gel food coloring until you achieve your desired shade of green.
- Fill each cup ¾ full with the green pudding mixture. Top with the remaining whipped topping, spreading it gently to the edges of the cups with a spoon.
- Place the cups back in the refrigerator until you’re ready to serve them.
- Sprinkle Lucky Charms cereal on top of each cup for a fun and colorful garnish. Serve immediately.
Notes
- Be sure to use instant pudding mix, not the cook-and-serve kind, to ensure the mixture sets properly.
- For the best texture and taste, make sure to chill the pudding cups after assembling them.
- For best results, don’t sprinkle the Lucky Charms on the cups until you’re ready to serve. I find they can get soggy in the refrigerator after a while.
- If you need to transport these cups, place them on a large baking sheet to keep them stable and secure.
Nutrition