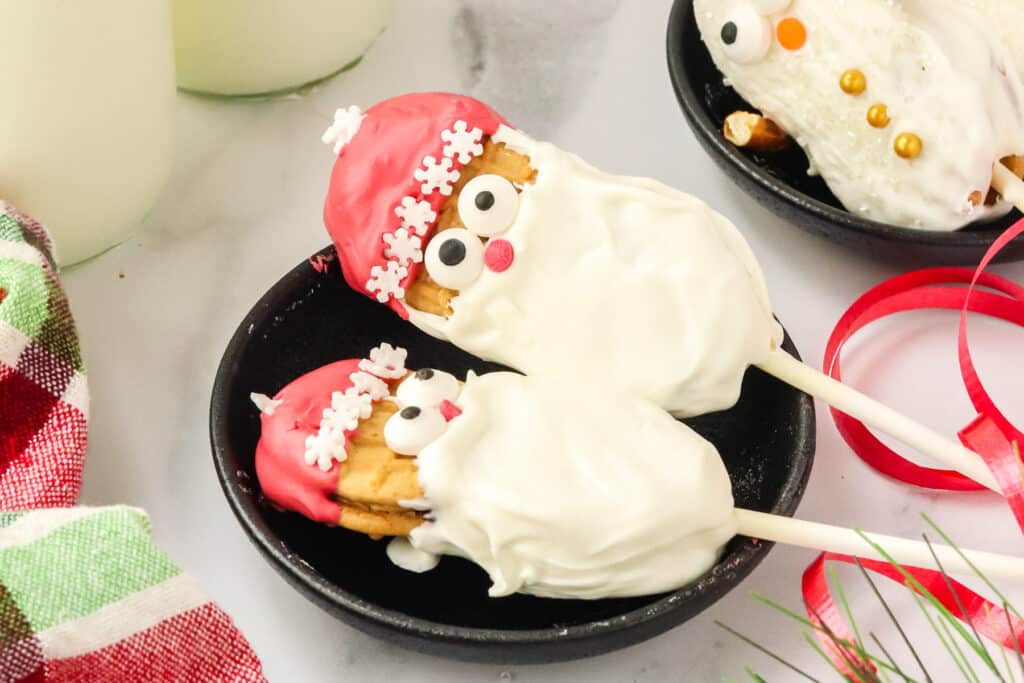
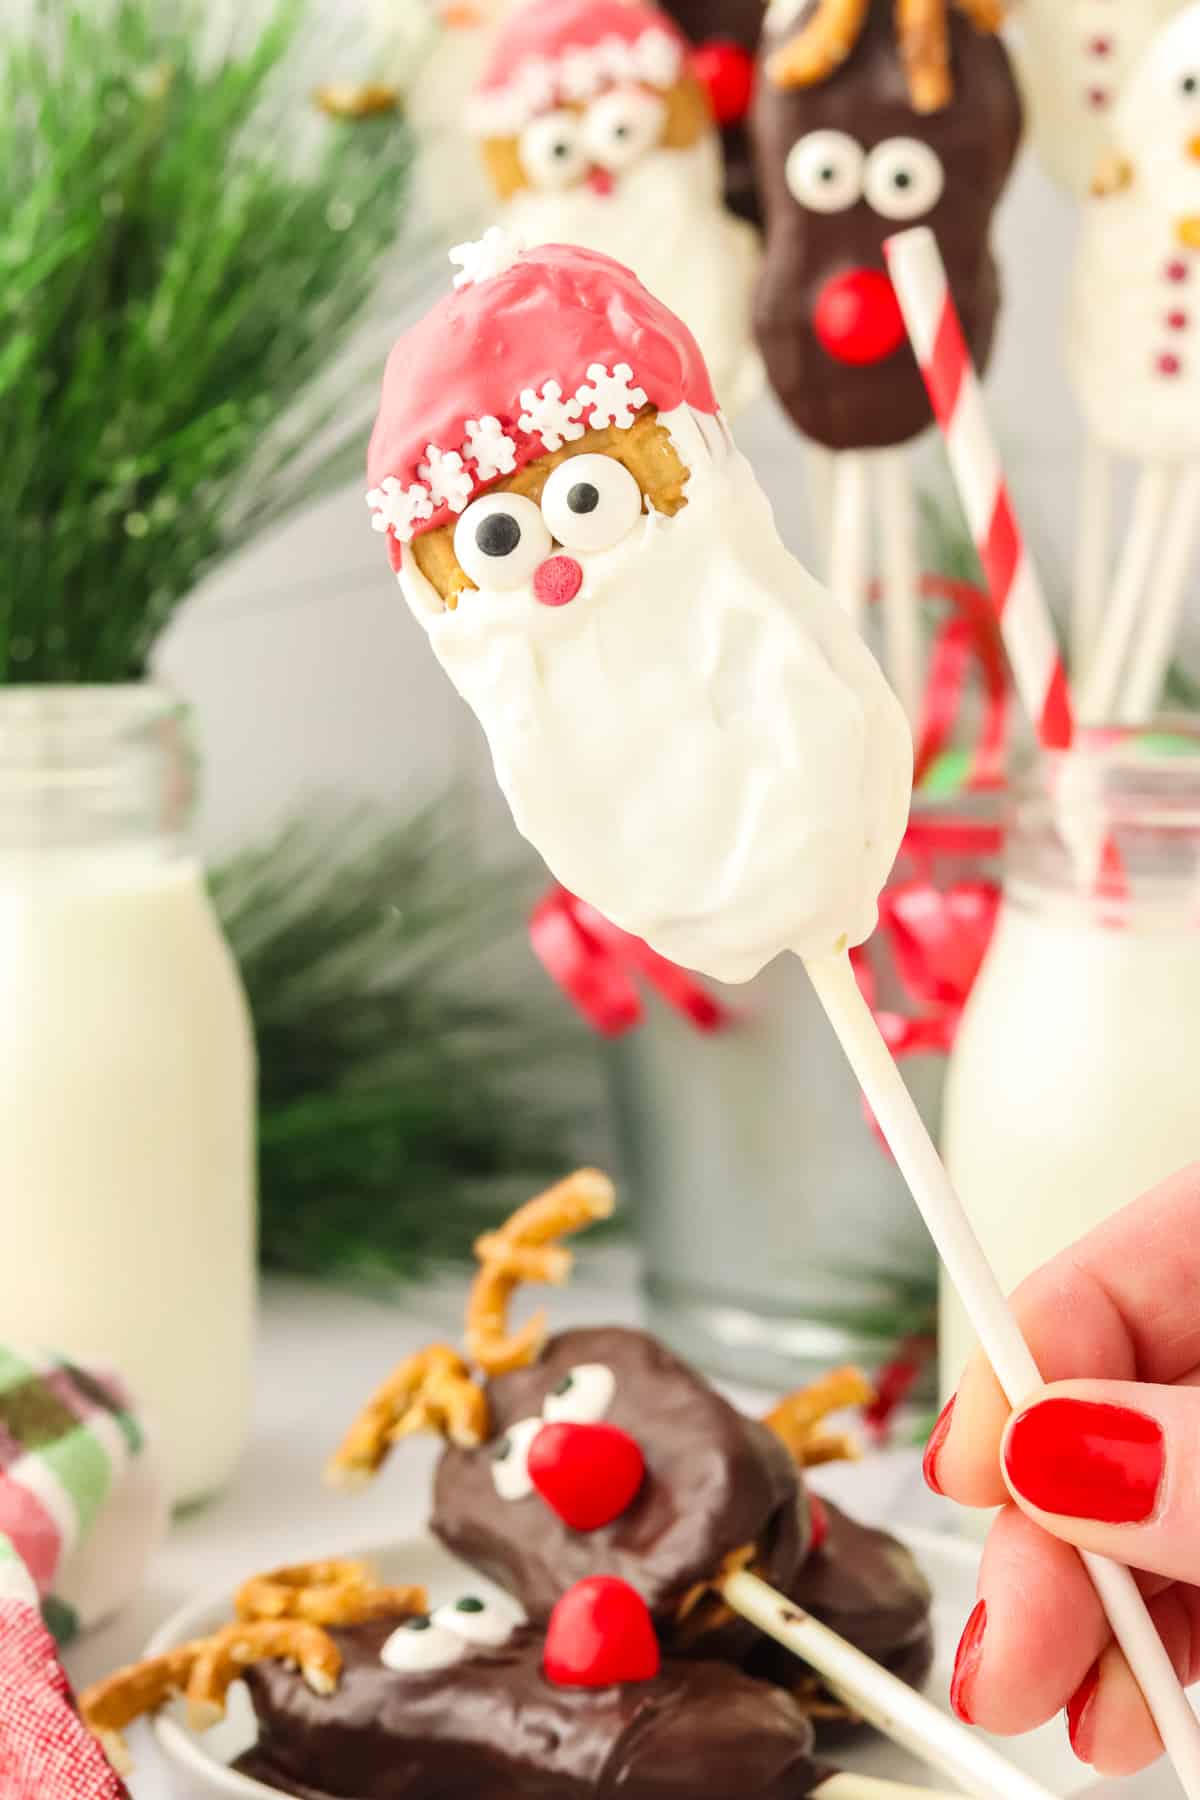
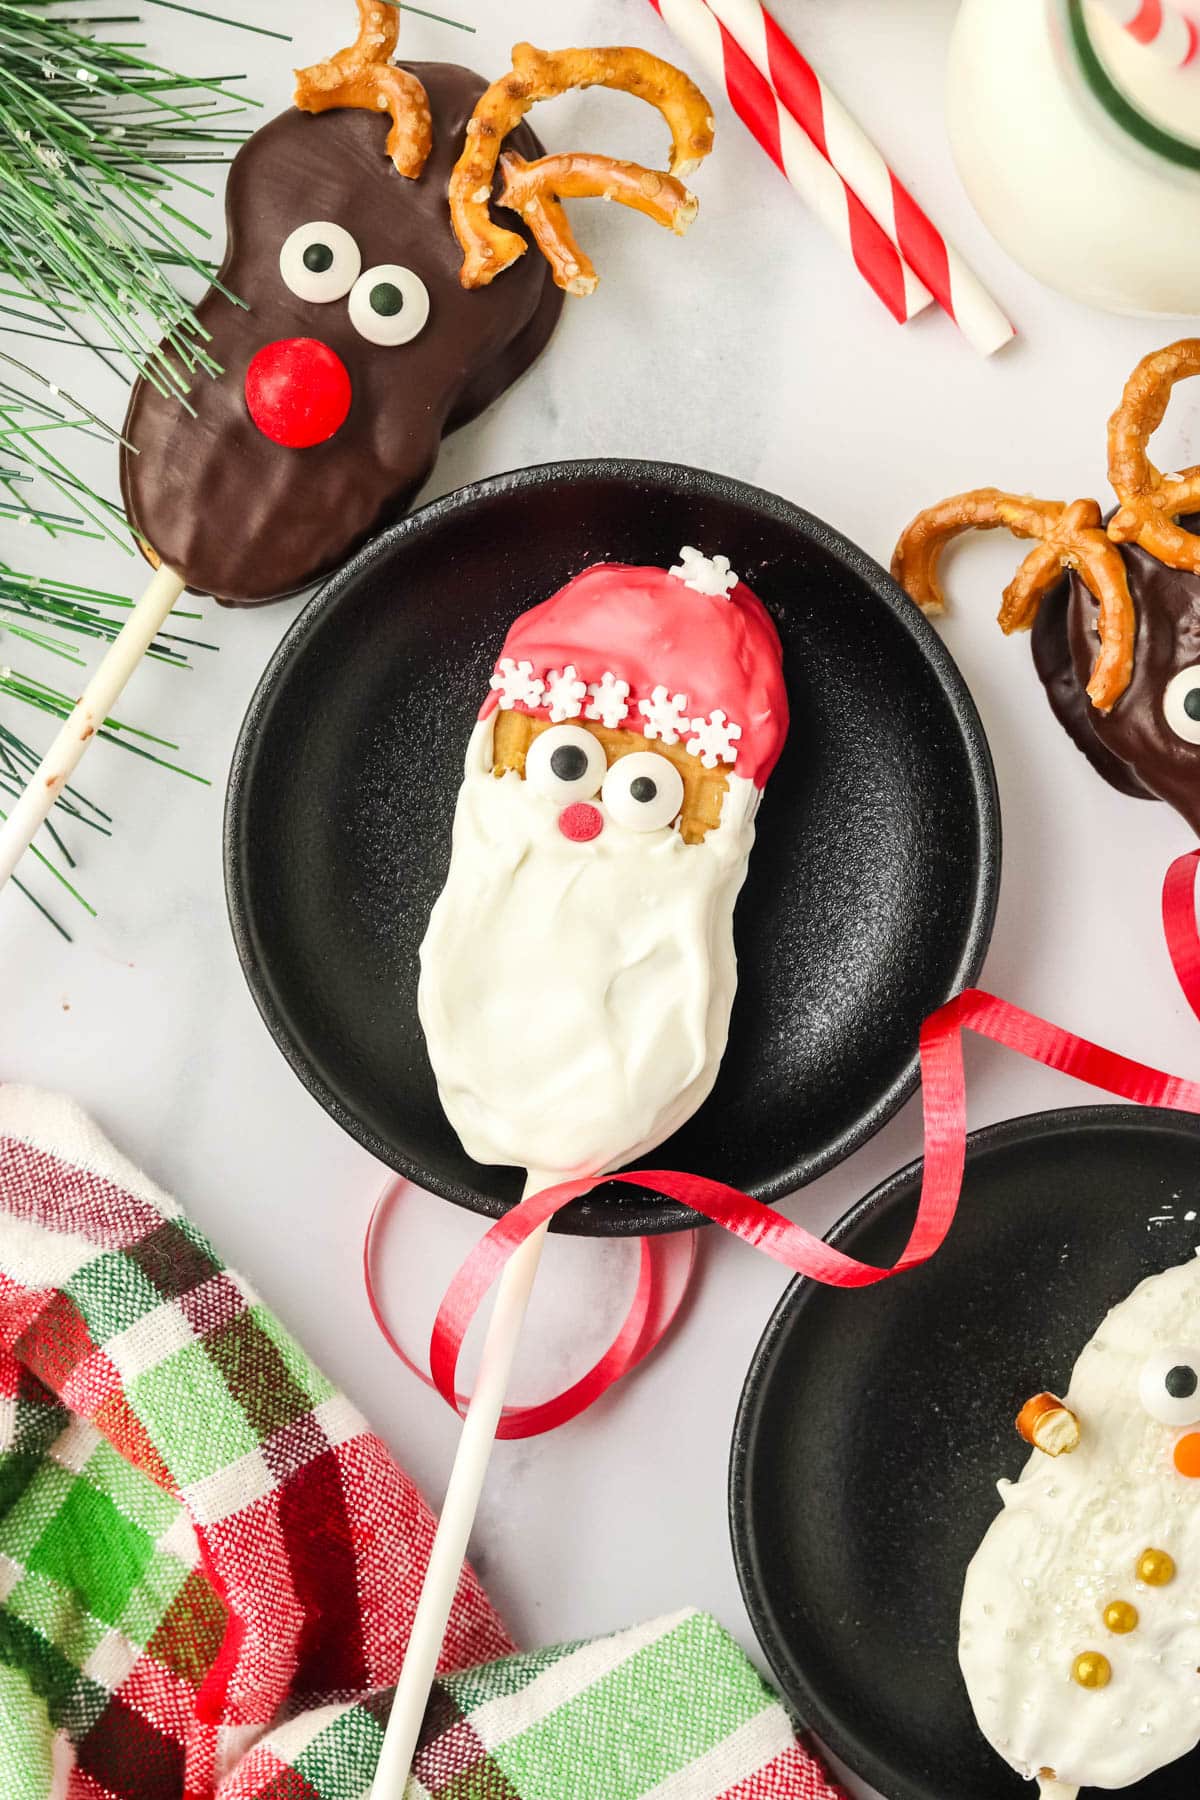
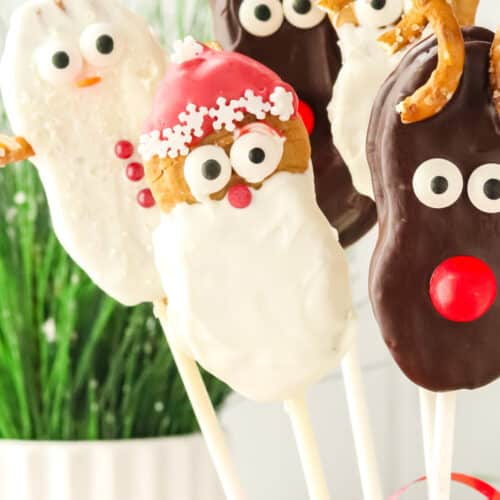
Nutter Butter Santas


These Nutter Butter Santa Cookies are the cutest no-bake Christmas treats! With a fluffy white chocolate beard, a red candy melt hat, and an adorable candy face, these little Santas are perfect for holiday parties, cookie exchanges, or a fun afternoon project with the kids. They come together in about 30 minutes and require zero baking. Just melt, dip, and decorate!
Why You’ll Love this Recipe
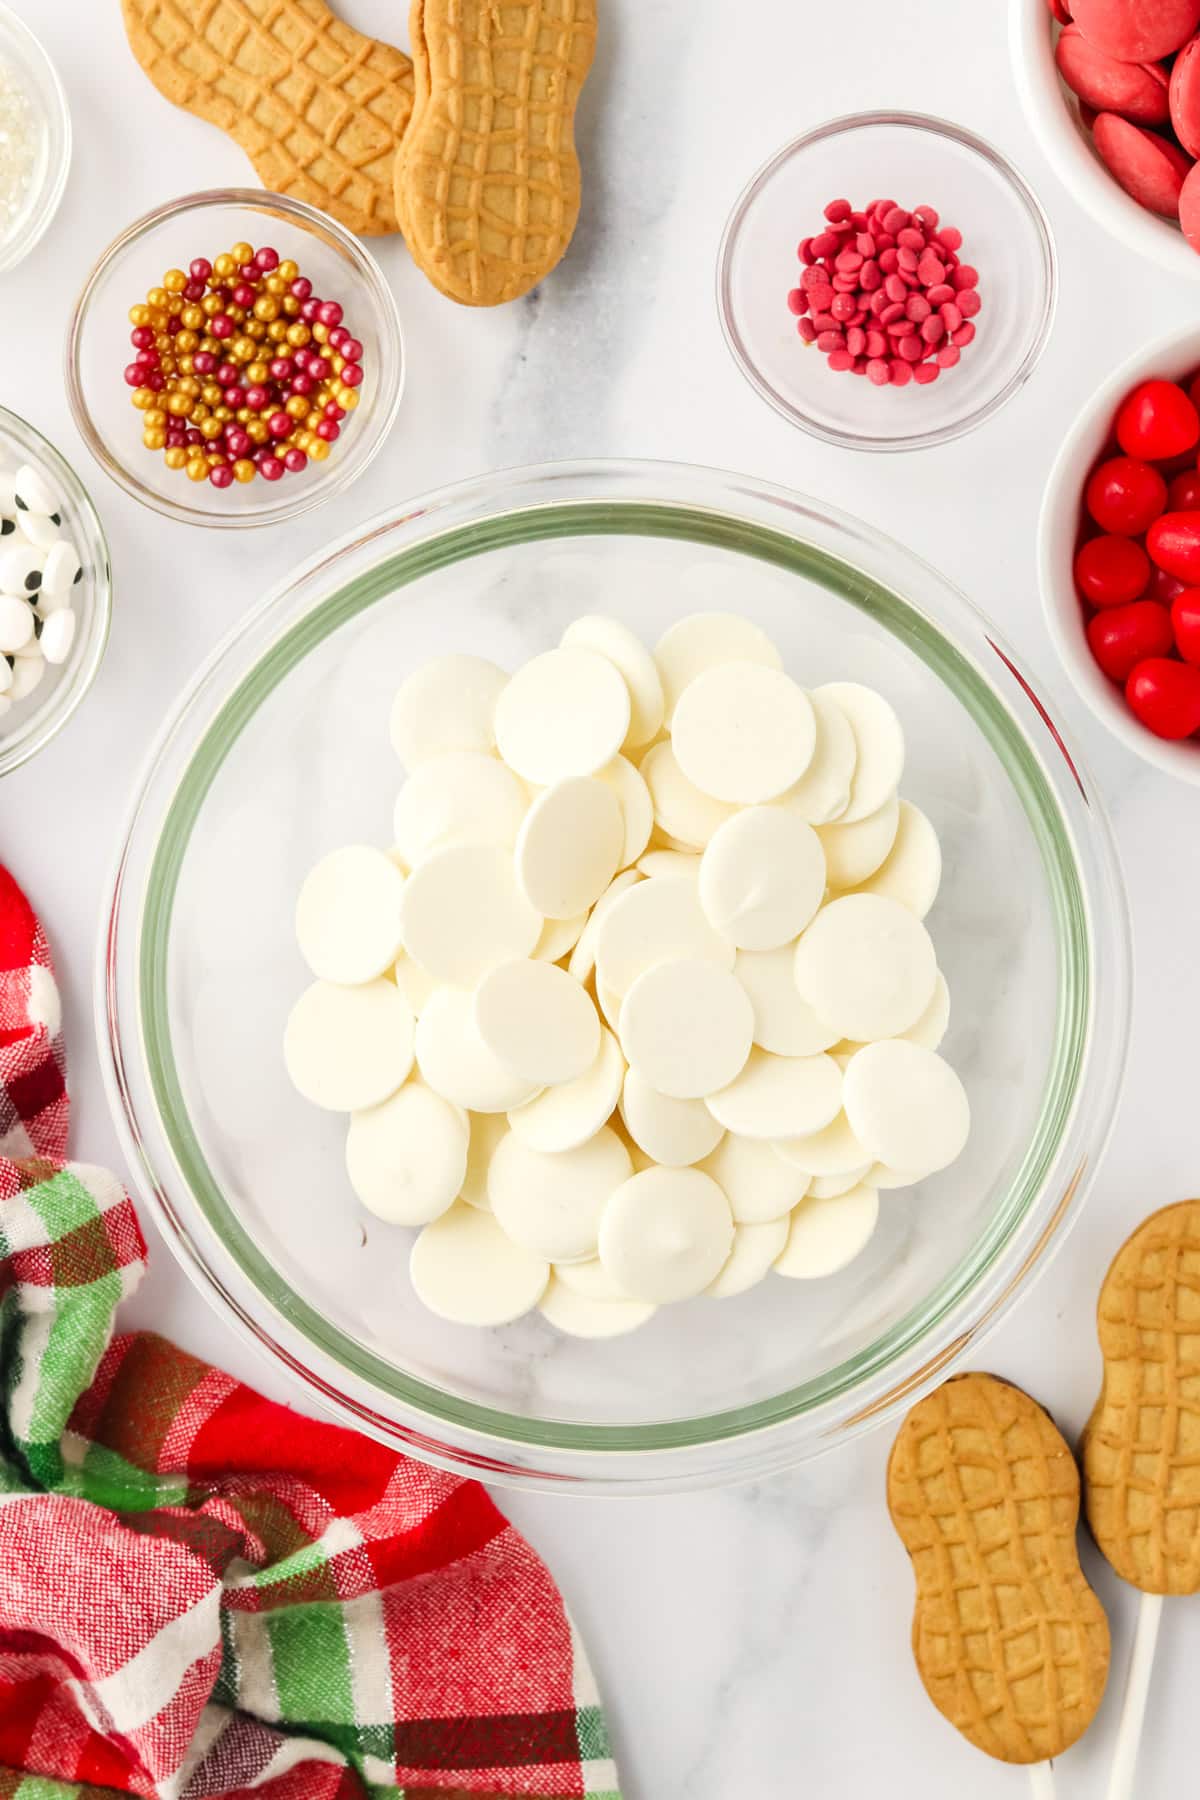
Ingredients

PRO TIP
Have all your decorations ready and within reach before you start dipping. The candy melts set quickly, so you’ll want to work fast when adding the eyes, nose, and sprinkles!
Ingredient Notes
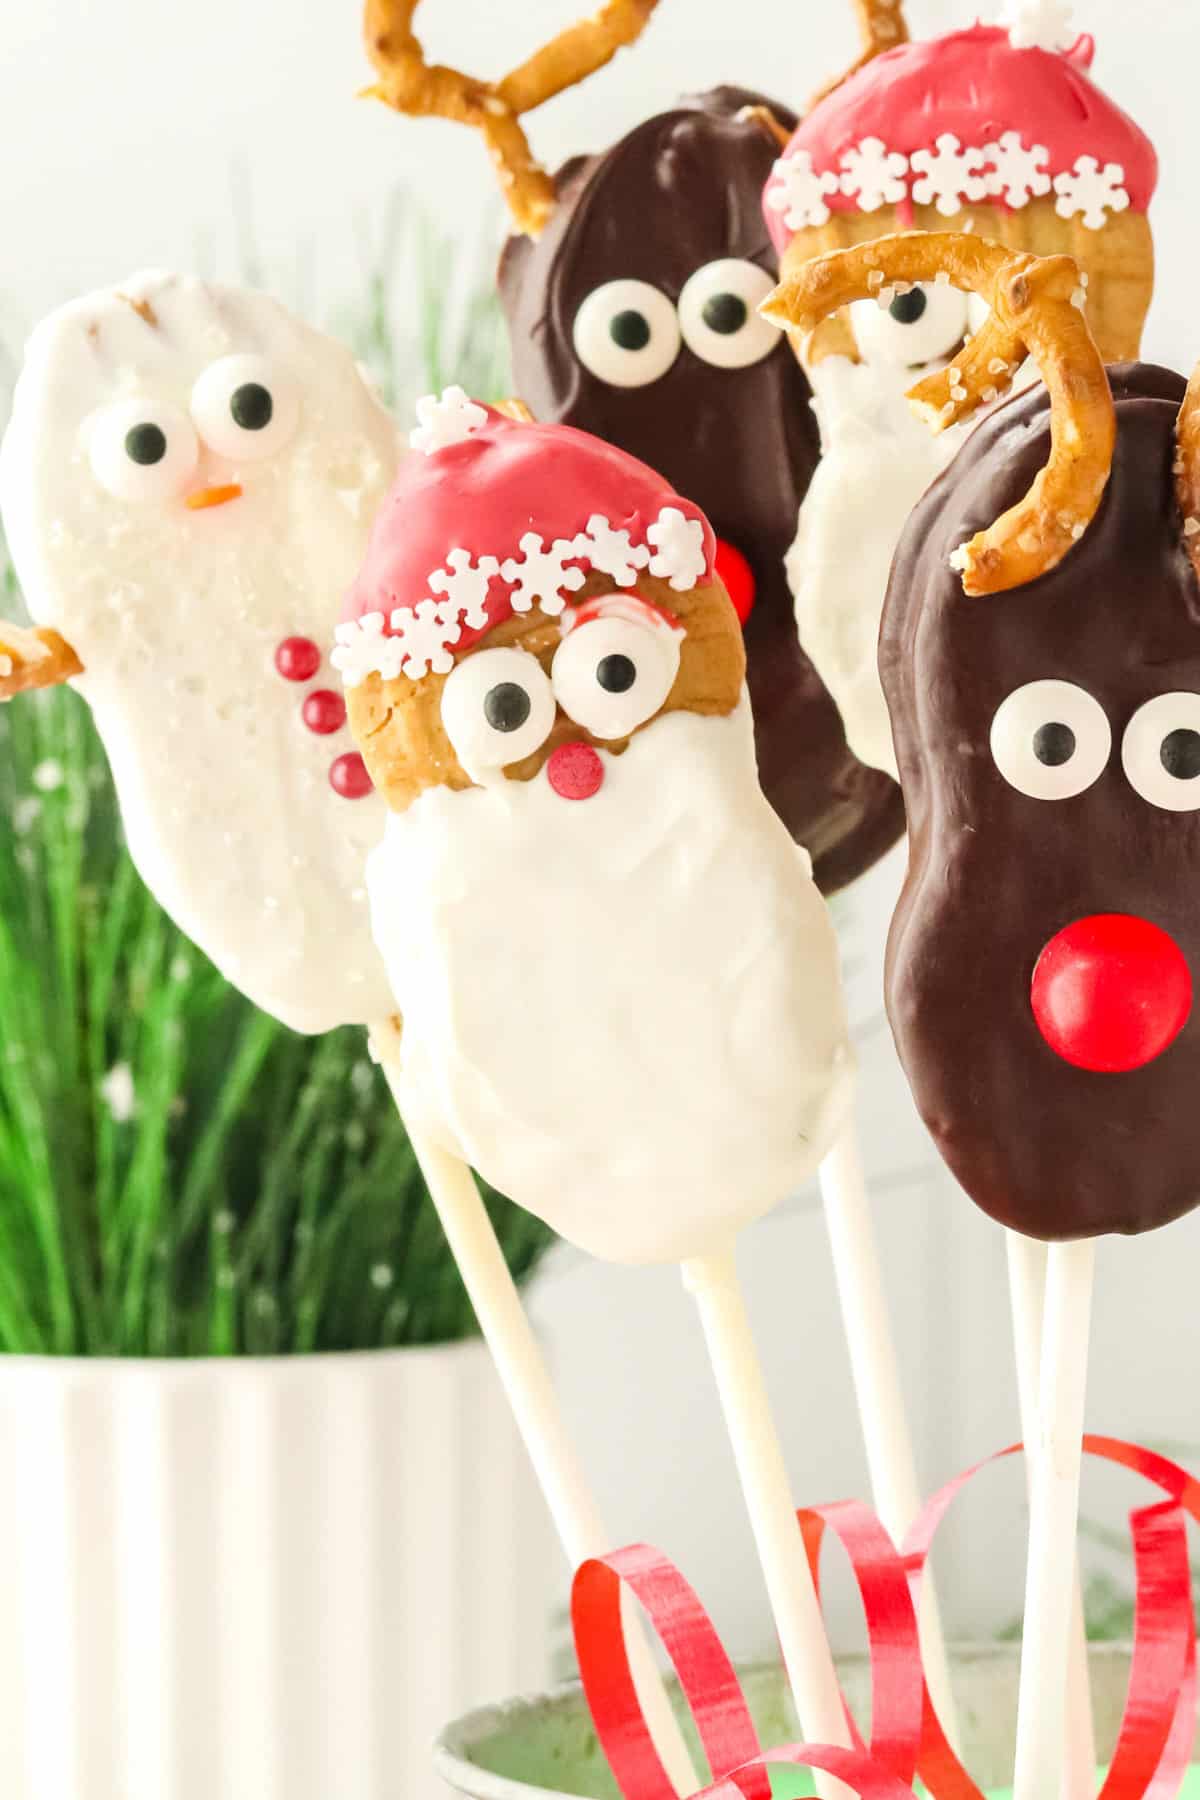
- Nutter Butter cookies: The peanut-shaped cookies work perfectly for Santa’s face and beard. You’ll separate each cookie to insert the stick, then press them back together.
- Candy melts: I use Wilton brand candy melts, but any brand will work. You can find red candy melts at craft stores like Michaels or Joann, or you can add red food coloring to white chocolate.
- Candy eyeballs: Look for small candy eyeballs in the baking aisle. Wilton makes great ones in various sizes.
- Red candy nose: I used Cherry Sours for the nose, but red M&M’s or any small round red candy works great.
- Snowflake sprinkles: These create the fluffy trim on Santa’s hat. White nonpareils or white jimmies work too!
How to Make Nutter Butter Santa Cookies
For the ingredient list with measurements, full instructions, printable recipe, and additional notes, please scroll down to the recipe card.
Recipe FAQs
Absolutely! Just skip the stick step and lay the decorated cookies flat on parchment paper. They’re just as cute as cookie bars.
White and red candy melts are available at craft stores like Michaels in the baking section, or online. If you can’t find red, you can add red oil-based food coloring to white candy melts.
You can, but candy melts are easier to work with because they set firm and don’t need tempering. If using white chocolate chips, add a teaspoon of coconut oil to help them set smoothly.
Expert Tips
Storage instructions
Store: Keep in an airtight container at room temperature for up to 5 days.
Freeze: These can be frozen for up to 3 months. Place in an airtight container with parchment paper between layers. Note that some sprinkle colors may bleed when thawing.
Do not refrigerate: The humidity in the refrigerator can cause the candy coating to become sticky or develop condensation.
More Christmas recipes, printables and more to try


Nutter Butter Santas
Equipment
- 12 candy sticks or lollipop sticks
Ingredients
- 12 ct Nutter Butter cookies
- 1/2 cup (3oz, 86g) white candy melts
- 1/2 cup (3oz, 86g) red candy melts
- 24 ct candy eyeballs
- 12 ct small round red candies, Cherry Sours or red M&M’s
- White snowflake sprinkles or white nonpareils
Instructions
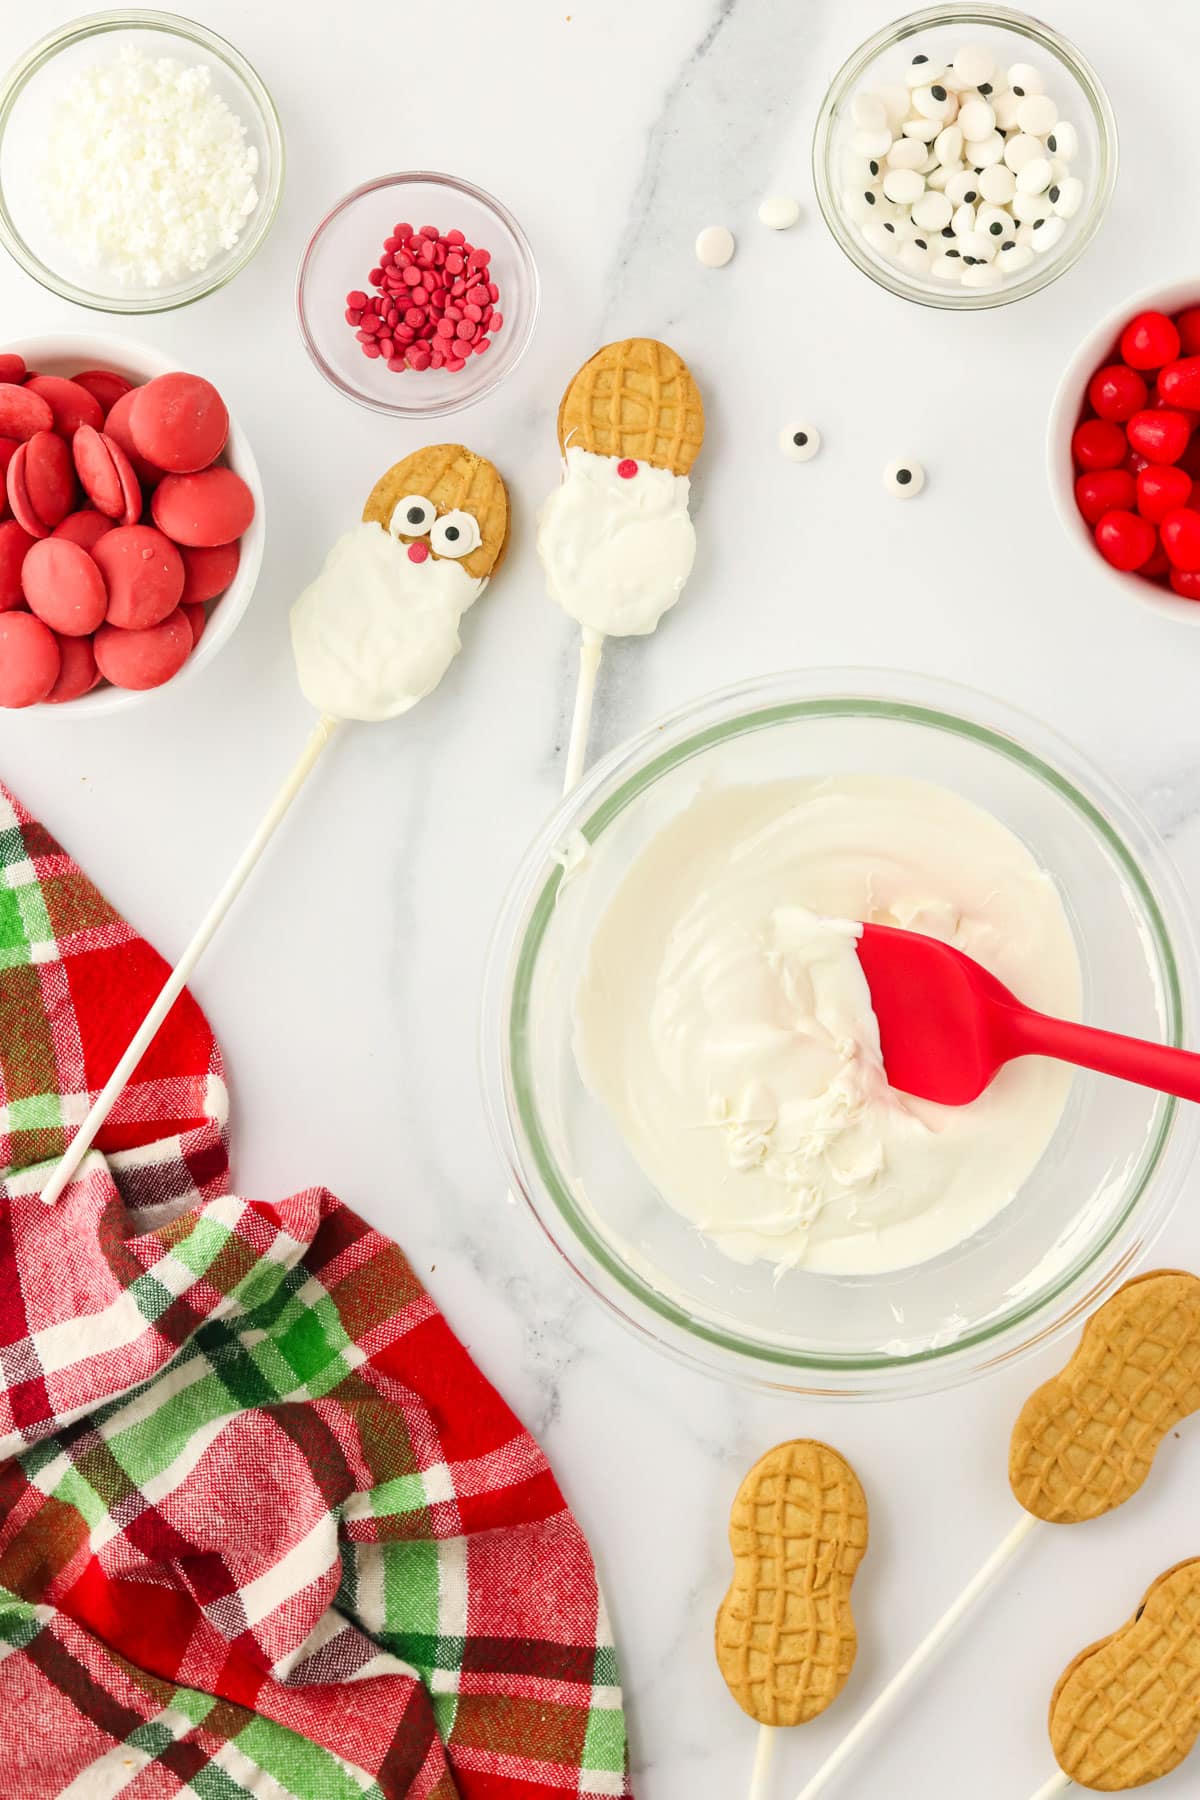
- Gently twist each Nutter Butter cookie to separate the halves. Dip one end of a candy stick (about 1-1.5 inches) into melted white chocolate and press it into the peanut butter filling. Place the other half on top and press together. Let stand 10 minutes to set.
- Melt white candy melts in a microwave-safe bowl at 50% power for 1 minute. Stir, then continue heating in 30-second intervals until smooth.
- Using a spoon, scoop white chocolate over the lower half of the cookie to create Santa’s beard. Place on parchment paper.
- While wet, press a red candy into the beard for the nose. Use a dab of white chocolate to attach two candy eyeballs above the beard. Let stand 5 minutes.
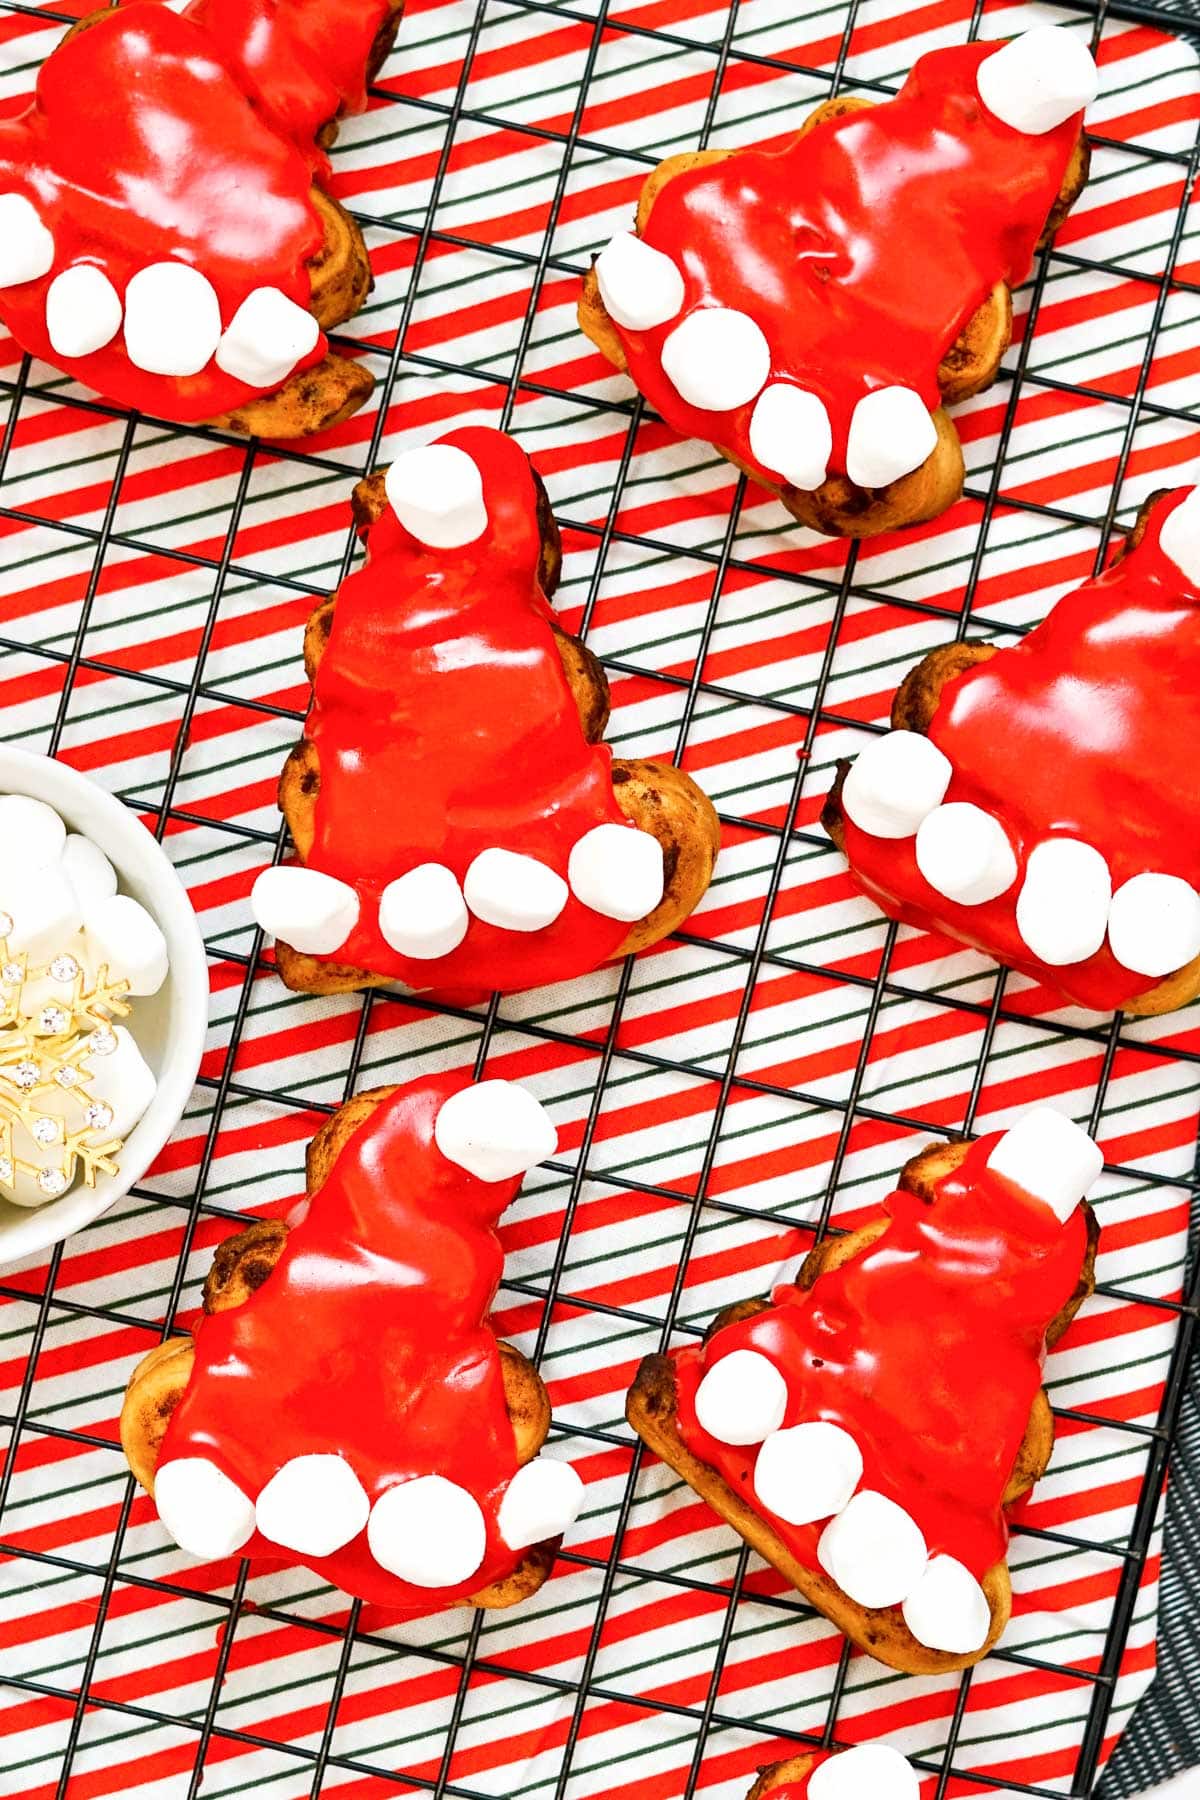
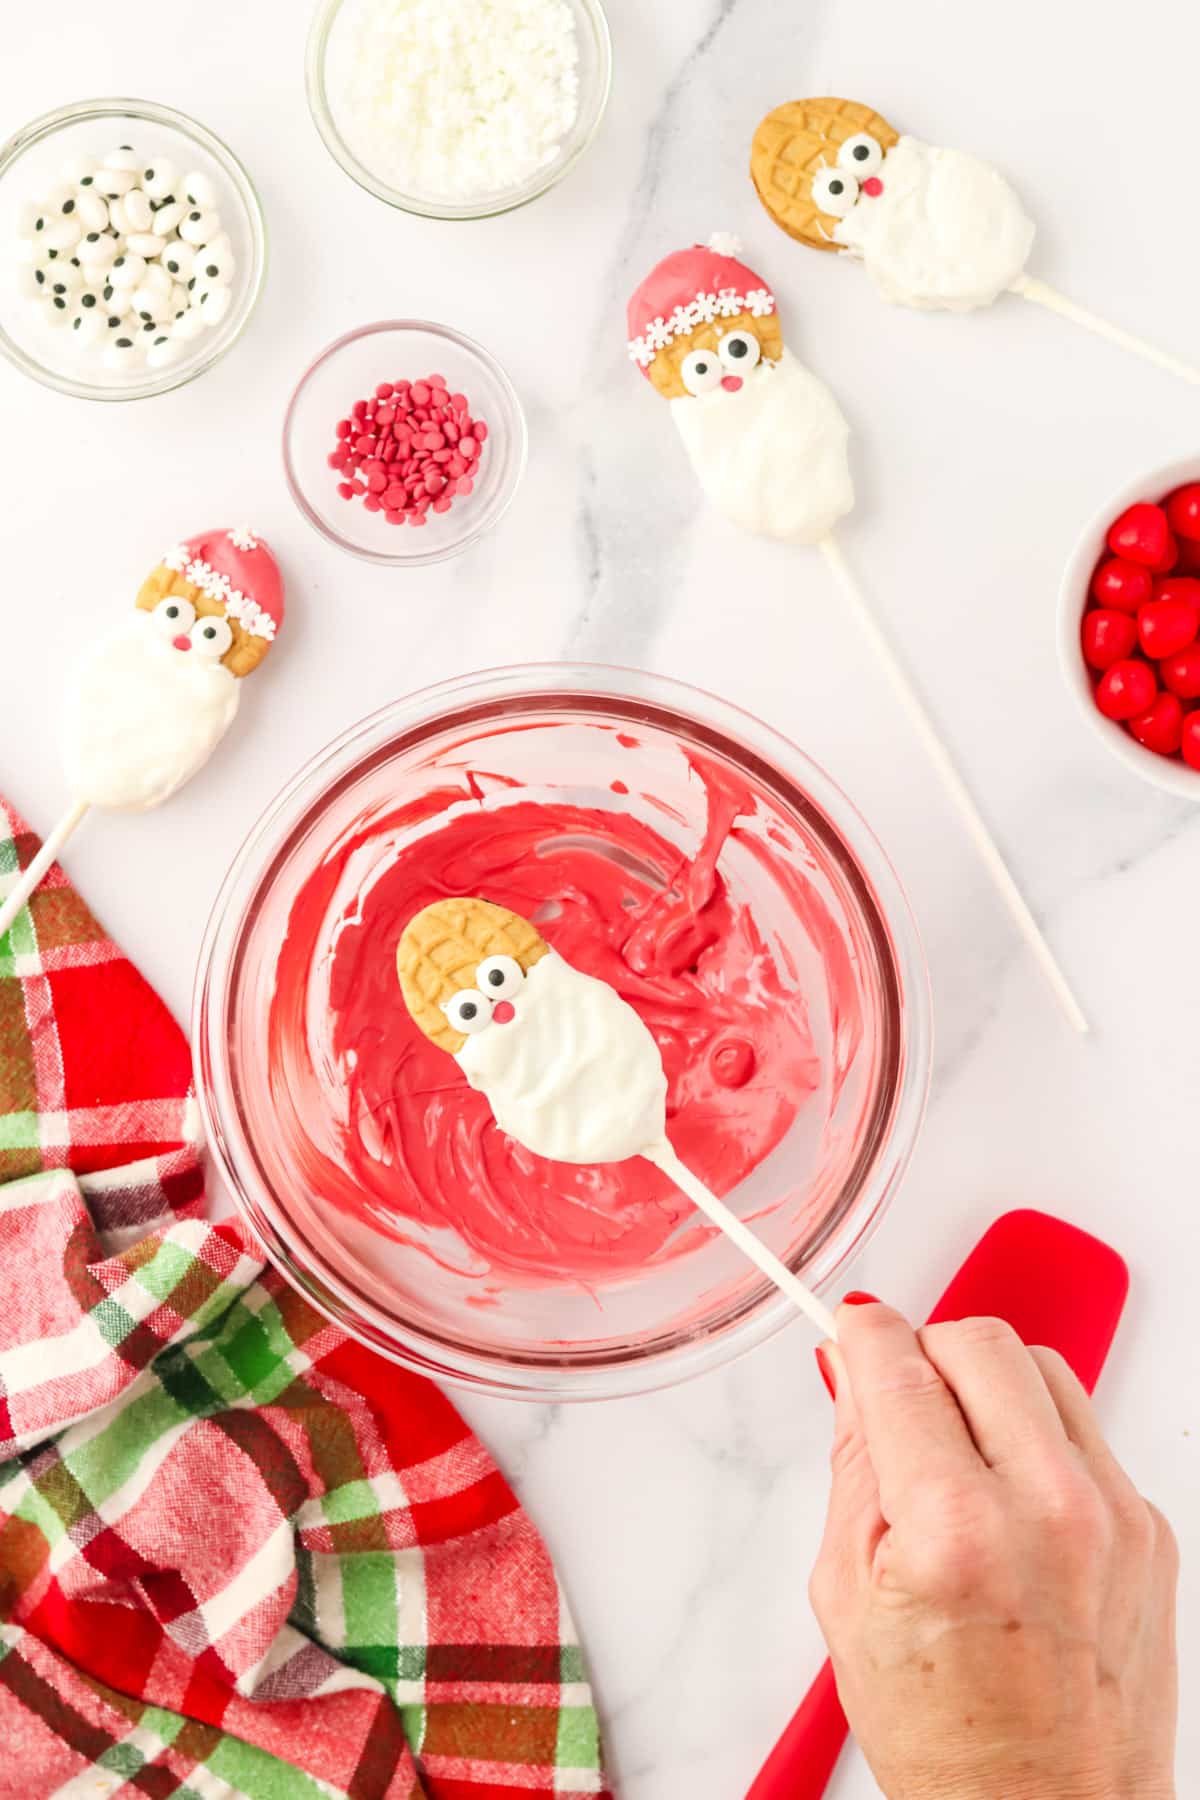
- Melt red candy melts in a clean bowl at 50% power for 1 minute. Stir, then continue heating in 30-second intervals until smooth.
- Dip just the top of the cookie (above the eyes) into the red candy melts for Santa’s hat. Place on parchment paper.
- Immediately add white snowflake sprinkles along the hat edge for the trim and pom pom. Let stand 10 minutes to fully set.
Notes
- Have all decorations ready before dipping—candy melts set quickly!
- Store in an airtight container at room temperature for up to 5 days.
- These can be frozen for up to 3 months, but sprinkle colors may bleed when thawing.
Nutrition